How to turn a cooking demonstration into useful recipe notes
· Editorial team atlantanewsdaily24.com
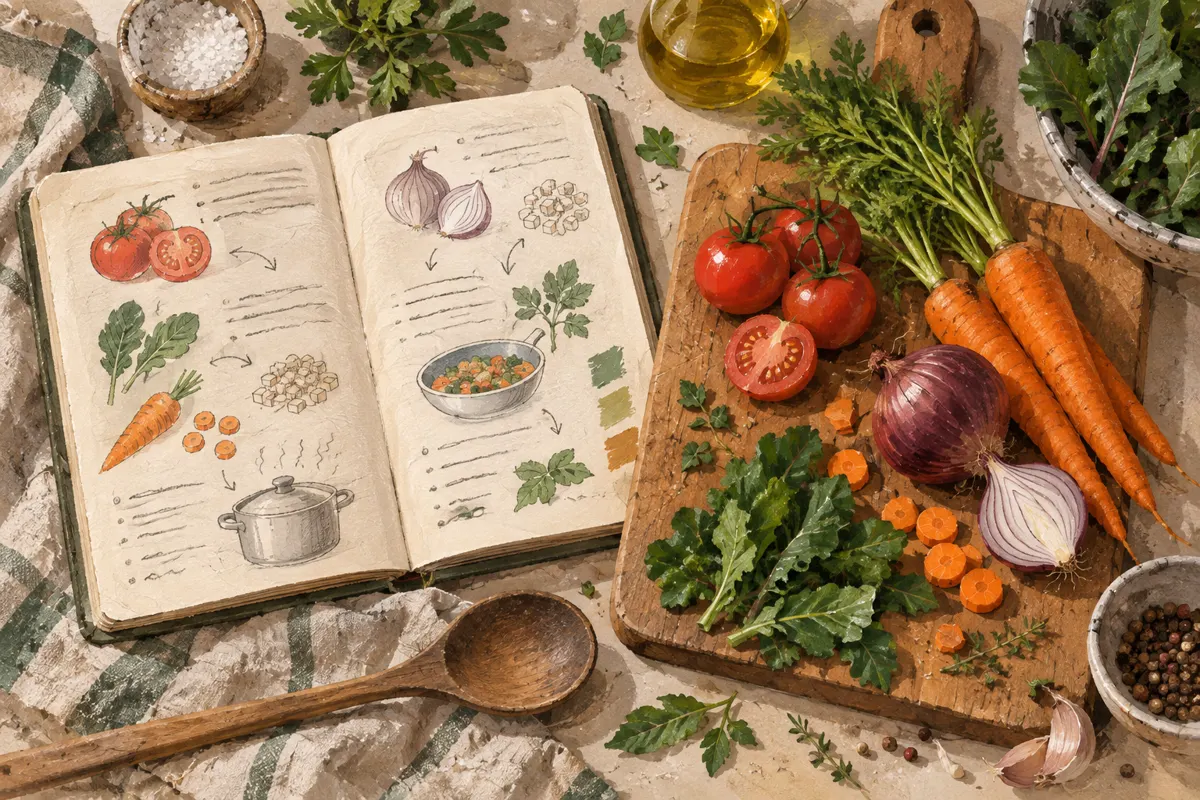
To turn a cooking demonstration into useful recipe notes, record what the cook does, what changes in the food, and how they decide to move to the next step. Keep ingredient preparation, timing, and questions together, then rewrite the notes in cooking order while the demonstration is still fresh. The following is a proposed note-taking method you can adapt to any class.
Set up a small note template
Before the demonstration starts, write the dish name and leave space for ingredients, preparation, cooking steps, and questions. If you receive a recipe, use it as your base and add details beside the relevant instruction. This leaves more attention for watching movements that are difficult to describe afterward.
- Ingredients: quantity, preparation, and when each ingredient is added.
- Equipment: pan, utensils, and any setting the instructor specifies.
- Method: action, heat level, approximate time, and visible result.
- Questions: missing details, substitutions, and preparation ahead of time.
Use short phrases during the class. Leave a blank or write “ask” when you miss something instead of filling it with a guess. Keep the notebook away from the working area, and put down tools before writing so your attention stays on the task.
Capture how ingredients are prepared
An ingredient list may say “carrots” while the demonstration shows peeled carrots cut into small, similar pieces. Record those preparation details beside the ingredient. Include whether something is drained, dried, softened, divided, or reserved for the finish.
Also note the reason for a cut when the instructor explains it. Starseed Kitchen’s cooking-class tips connect vegetable size with the flavors you want together in one bite. That makes “small dice so several ingredients fit on the fork” more useful than simply “chop vegetables.”
Watch for ingredients added in separate stages. If some herbs go into the pan and others finish the dish, write both uses clearly. When quantities are supplied, keep them attached to each stage. If the cook adds an unmeasured amount, record that observation and ask for guidance before treating it as a repeatable quantity.
Pair timing with observable cues
For each cooking stage, capture the action and the cue that ends it. Note the stated time, but also record any change the instructor points out: color, texture, thickness, aroma, or the way the food moves when stirred. These details explain what the instruction is trying to achieve.
- Action: what goes into the pan and what the cook does next.
- Heat: the stated burner level or oven temperature.
- Time: the estimate given, with a clear starting point.
- Cue: the change the instructor uses to judge progress.
- Next move: what happens immediately after that cue.
Distinguish demonstration time from recipe time. The instructor may pause to explain a technique or bring out a component prepared earlier. Mark those interruptions so a teaching pause does not become a cooking instruction. Record any doneness checks separately; appearance alone should not be assumed to establish food safety.
Ask questions that close practical gaps
Keep a short question list as you watch, then ask at an appropriate pause. Focus on details that would stop you from making the dish at home. Starseed Kitchen identifies preparation ahead of time as a recurring cooking-class question, making it a useful topic to clarify before leaving.
- What should this look or feel like before I continue?
- Was that ingredient quantity measured before or after preparation?
- Which parts can I prepare ahead, and how should I store them?
- Would a different pan or ingredient change the method?
- What should I check if the result looks different at this stage?
Write the answer beside the affected ingredient or step. If a substitution was not discussed, label it as an idea to ask about rather than an approved alternative.
Turn the notes into a home cooking sequence
Review your notes soon after the class. Expand shorthand while you remember its meaning, then arrange the instructions in the order you will use them. Keep any unresolved detail visibly marked.
- Create one ingredient list with quantities and preparation attached.
- Put setup tasks first, including equipment and any stated preheating.
- Number the cooking steps, keeping timing and cues beside each action.
- Add finishing and serving instructions, including reserved ingredients.
- Read through once and flag missing quantities, temperatures, or transitions.
After cooking the dish yourself, add your own observations in a separate dated note. Distinguish what the instructor taught from adjustments you tried. This keeps the original method easy to recover while making the recipe more useful for your kitchen.